My way of taking digital pictures of miniatures
First of all I'm no way a specialist on photography and everything written down here is just what I found useful for myself, there are plenty of other ways and everybody should try something that suits his taste. I'm using a Nikon Coolpix 995 which is quite oldfashioned by today's standards, you can't even buy it in the stores anymore, and all settings are based on this camera. I haven't used any other cameras and so have no experience with settings and features these cameras have to offer. My experience with Nikon is very good, especially as the manual is a pleasure to read and provides very useful information.
Talking of cameras - which ones are useful for
photographing miniatures? A camera should have:
-At least 2 Megapixel which is fine for pictures of single 28mm models to
use on the web. Most modern cameras have lots of more. Mine has three, which
are sufficient for printing.
-A macro, this enables you to take pictures at very close range. Real macros
can go as close as 20mm which isn't necessary at all for our use, 100mm is
fine. You can't go much closer anyway because of the lightning.
-It should allow to choose the aperture and shutter speed manually.
-It needs a whitebalance, the more detailed the better.
What else do you need?
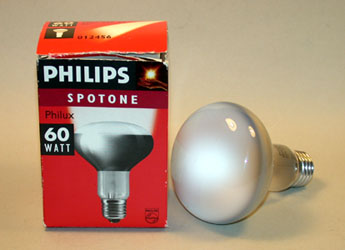
-Lights, I use some cheap ones from Ikea which I also use for painting. Two are fine for most pictures as you can see in the setup below. For the lights I use 60Watt spotlights from Philips. Why these? They had them in the shop around the corner, you can use any bulbs you have at hand. 100Watt provides some more light but they are getting very hot, too.
-A sheet of heavy paper (Din A 2) to provide a solid setup.
-Some sheets of ordinary white paper for the background.

Setup:
This is the setup I use for taking pictures. The white paper provides the
background, if it gets dirty you can simply throw it away and replace it
with a new one. You should use several sheets as a single one is too
transparent with the lightning used. The lights are placed as close to the
figure as possible. The camera is placed directly in front of the triangle (you
can see the miniature between the lights). I don't use a tripot because of
the anatomy of the Nikon. You should use a setup that suits you camera and a
tripot if necessary. Do I need to mention you should not try to make photos
with the camera in hands?
-Set to macro.
-Set to timer, like this you can make sure the camera doesn't move when shooting.
-Whitebalance: Light has specific colours, depending on the light source. Cameras are set up for the use with natural light. Artificial light has a colour depending on the lightsource. Human visions compensates for variations in the colour of normal light so that we can see white or grey objects as neutral. Digital cameras attempt to mimic humans by measuring the colour temperature and compensating automatically. This is called whitebalance.
With some cameras you can adjust the automatic whitebalance manually, this is a very useful feature as the white background can provide some difficulties for automatic whitebalance. Have a look at the manual of your camera for the details. If it looks blueish or redish it's wrong. When you have found a good setting for use with your lights you're nearly done.
-Depth of focus. Use a manual aperture setting. The larger the aperture number (the smaller the opening), the better is the depth of focus, the longer are your shutter times. Try to set the aperture at 9 or higher.
-Overlighting. If the resulting pictures are too dark you can:
a) use a overlighting setting if your camera has it.
b) use longer shutter times
You've to experiment whith these features.
-Size of pictures, the larger the better. You can still make them smaller later on.
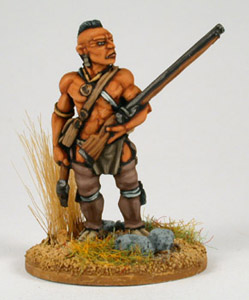
Below you can see some pictures as they come from the camera, resized using photo editor. I try to avoid any further editing as this is just additional work and if you take some dozen pictures it would take even longer. If you have some working settings with your camera you can save this work and paint more miniatures. Sometimes it can be necessary to adjust the brightness but that's all.
I hope you found this information useful.
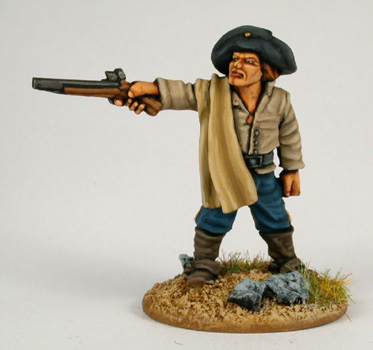
Foundry Cowboy
Conquest Indian